Test Driven API development with Django REST Framework and Docker #1
Shakib Hossain
—April 09, 2018
In this tutorial we'll use Django REST Framework to create a Blog API. We will be developing our application inside a docker container. So, in a way, this tutorial will briefly introduce you to docker too. Without further ado, let's start building our blog API.
Setup
The first thing we should do is we must get our development environment setup correctly. I am using
a Linux distribution(Manjaro Linux) to develop this API. But you're welcome to use anything you prefer
and feel comfortable with.
Most of the Linux distributions come with Python pre-installed. We will be using Python 3.5 to make
our API so you should try to install that. I prefer pyenv to manage my Python versions.
You can setup pyenv following the link.
We must have these things installed in our local environment. It will make our development process much smoother.
- Python
- Django
- Django-Rest-Framework(DRF)
We'll also have to install Docker and Docker-Compose for our docker container. Here are the Manjaro/Arch specific commands to install and enable Docker service.
$ sudo pacman -S docker docker-compose$ sudo systemctl enable docker
Now, we're all set to start building our Blog API.
Project Directory
Let's start by creating a directory for our web application. We'll name it blog_api. We also have to change our
working directory to the blog_api directory.
$ mkdir blog_api$ cd blog_api
Generating Django project
Now we have to generate the Django specific files. But we want our project files to be in the working directory. We can easily achieve this by executing this:
$ django-admin startproject config .
Here I use the name config to define the project name and the . specifies the directory where the generated Django files
should go.
I used config as the name of the project because the directory with the project name almost all the time contains the
applications various configurations or settings. You can name it as you wish but I think the name config reflects what
the directory really represents.
After executing the above command we'll get a working directory like this:
blog_api├── config│ ├── __init__.py│ ├── settings.py│ ├── urls.py│ └── wsgi.py└── manage.py
We should keep our project dependencies in a file called requirements.txt. We can easily list all our requirements with this:
$ pip freeze > requirements.txt
Docker Configuration
We have to create a Dockerfile and a docker-compose.yml file to setup the docker container for
our application.
Let's start with the Dockerfile.
FROM uroybd/python3-psycopg2-alpine:latestRUN mkdir /codeWORKDIR /codeADD . /codeRUN pip3 install -r requirements.txt
We are using a docker image based on Alpine because it is lightweight. The main Dockerfile for this image can be found here. This Docker image installs Python 3.5 and other necessary packages for our container.
Now we have to create the docker-compose.yml file.
version: '3'services:db:image: postgres:alpinecontainer_name: project_dbvolumes:- project-db:/var/lib/postgresql/dataweb:restart: alwaysbuild: .command: python3 manage.py runserver 0.0.0.0:8000volumes:- .:/codeports:- '8000:8000'environment:DEBUG: 'true'depends_on:- dbvolumes: project-db:
First of all, we specify the docker version we are using. Then we define the services we'll use in our container.
In our case, We have a separate service for our database and our web app. The db service handles all the
database related stuff. We're using Postgresql alpine image as our database. The volumes section inside a service
tracks the file/folder we want to persist when our container is down. Otherwise, We'll have to migrate everytime our
container is up and also the database will be empty. Then, there's the web service which contains our actual application.
For now we're using Django's development server. But at the end of this tutorial we'll be using gunicorn. Also, we
are exposing the port 8000 to our localhosts port 8000. At last, the volumes section contains the list of the volumes
that we need to be persistent.
Configuring Django Database Settings
We have to install psycopg2 package into our environment. Also, we need to list it in our requirements.txt file.
We can do this by running these commands.
$ sudo docker-compose run web python3 -m pip install psycopg2$ sudo docker-compose run web python3 -m pip freeze > requirements.txt
Now we have to change Django's default database. We can do this by modifying config/settings.py file. We have to find
and modify the DATABASES variable inside this file. Write it like this:
DATABASES = {'default': {'ENGINE': 'django.db.backends.postgresql','NAME': 'postgres','USER': 'postgres','HOST': 'db','PORT': 5432,}}
This will tell Django that we'll be using Postgresql database. The postgres user is provided by default. But it is
customizable. You can follow this if you want to cutomize it more.
Now, let's do a migrate to update our database with Djangos default tables and also check if our application is working properly.
$ sudo docker-compose run web python3 manage.py migrate$ sudo docker-compose up
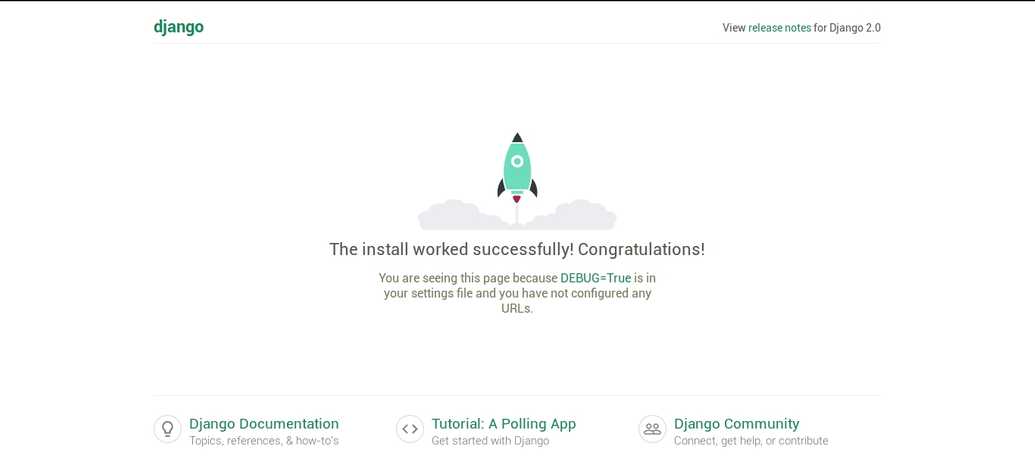
Now, if we visit localhost:8000 we should see django's default start page.
After following the above step our project directory should look something like this. We're ready now to start building our API.
Hope you liked the tutorial. I'll be updating this repository as we progress. I'll add the link to the second tutorial as soon as it's up. Thanks.
